Common faults and treatment methods of vertical autoclave
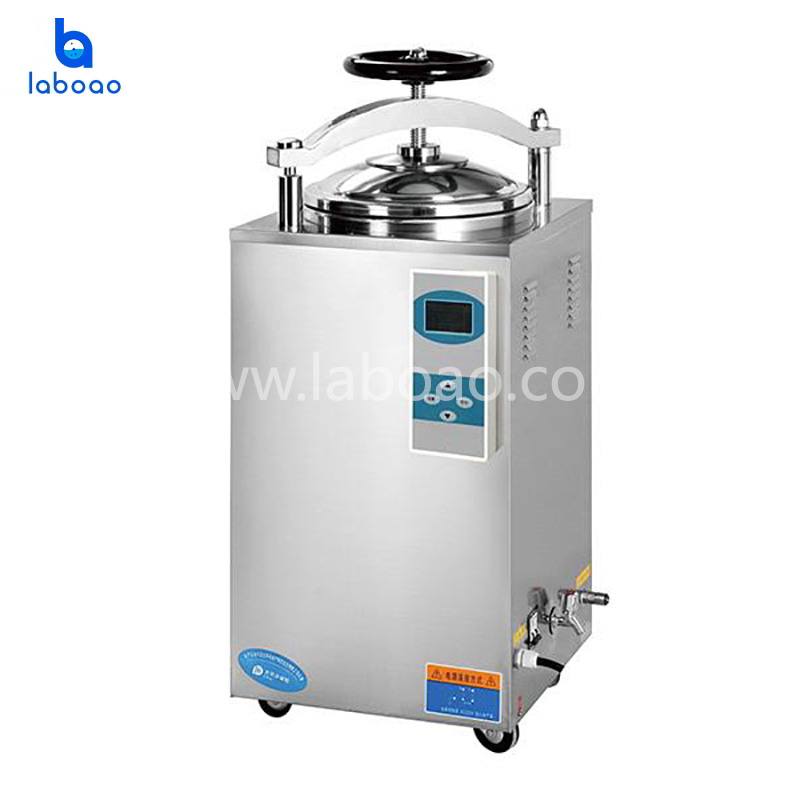
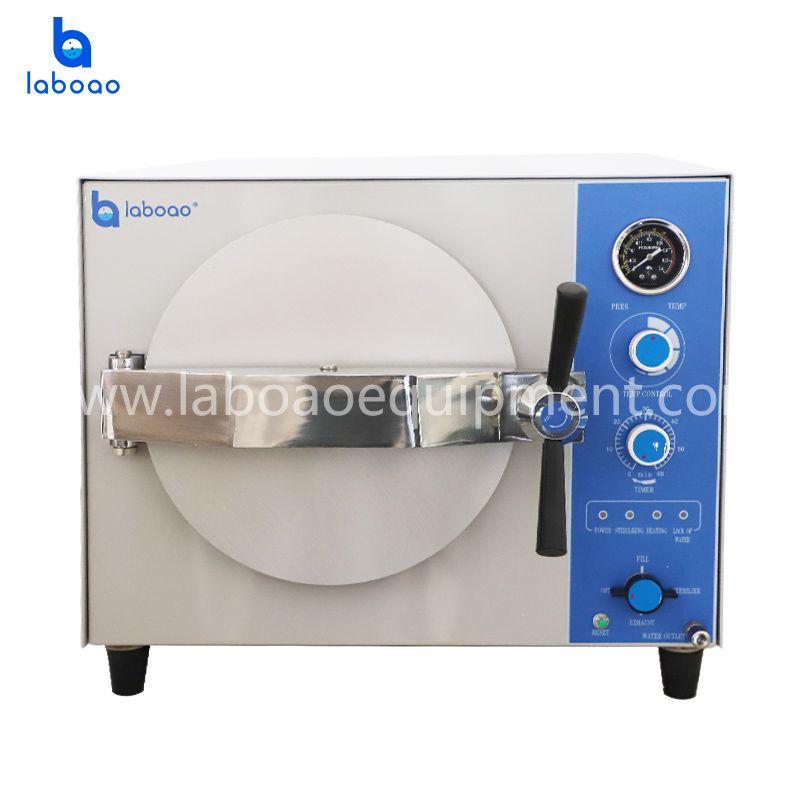
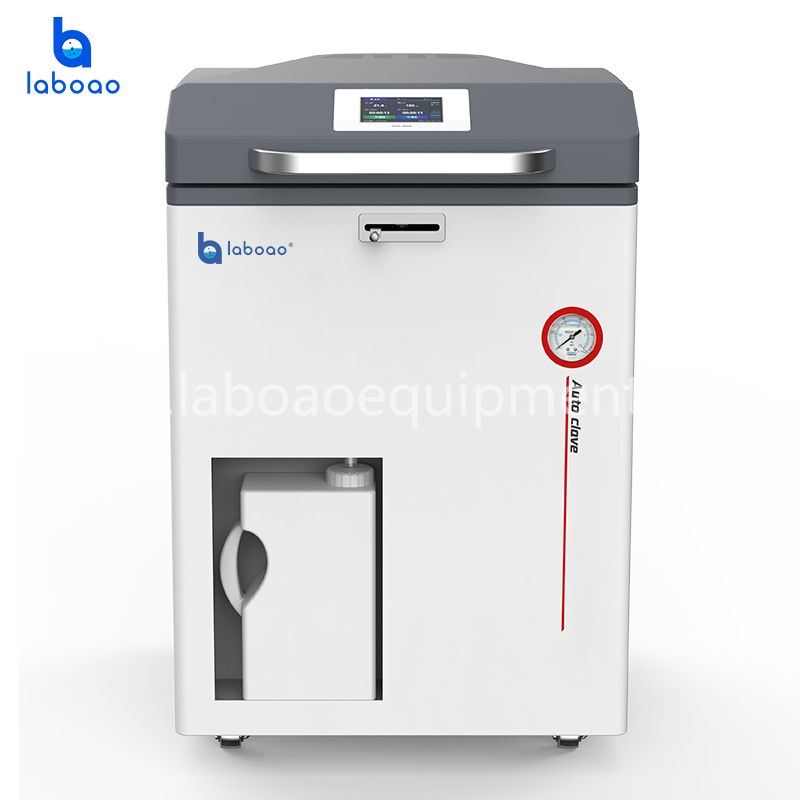
High pressure sterilizers can be divided into three types: portable, vertical, and horizontal according to their different capacities. This article analyzes the common failures that occur during the use of the vertical autoclave and proposes corresponding troubleshooting methods and preventive measures.
Common faults include: heating function failure, abnormal operation of the water level indicator, interlocking light off, air leakage, abnormal operation of the safety valve, failure of normal exhaust, liquid drainage, etc.
(1) When the instrument is in use, the heating function fails and the steam cannot be produced normally.
When the instrument is running, the heating indicator on the panel is on, but the temperature indicator does not rise, and the room temperature is maintained.
Solution: Open the side cover of the instrument, and the panel display is normal, indicating that the 220V power supply has entered the control circuit normally. Remove the wires connected to the heating tube and check the resistance of the heating tube with a multimeter. Generally, the resistance is between 8-15Ω. If the resistance is too large, it indicates that the heating tube is open and must be replaced. Because the heating tube burns out for a reason, no matter whether the heating tube is good or bad in the first row, you should check the solid state relay that controls the heating tube. Under the power-on condition, the input voltage of the relay should be around 12VDC, and the output voltage should be around 220VAC. If the input is normal and the output is abnormal, the relay must be replaced; if the input is abnormal, the load output control part on the control circuit must be checked. The common situation is the above two.
(2) When the instrument is in use, the water level gauge works abnormally.
As soon as the instrument is turned on, the control circuit checks the water level gauge. There are three indicator lights of "high water level", "low water level" and "water shortage" on the control panel. During normal use, the water level should be kept at the high water level, that is, the "high water level" indicator light is on. If the water level light does not turn on when sufficient water is added, or the “water shortage” light is always on and alarms, it means that the water level indicator is working abnormally.
Treatment method: Open the side cover of the instrument, first check whether the connection between the water level indicator and the control circuit is loose; use a wrench to unscrew the cap on the water level indicator, take out the water level indicator, check whether the three probes are rusted, and use alcohol cotton to remove rust deal with. Under the power-on condition, short-circuit the three probes with the outer steel pipe of the water level device in turn, and check whether the water level indicator on the control panel works normally. If it is normal, it indicates that the water level indicator is not damaged; otherwise, check the water level control circuit on the control circuit; after processing, install the water level indicator, turn on the power supply, and add water to check the indicator light. Generally, it is mainly due to the poor connection of the water level device wiring or the rusty surface of the probe causing abnormal operation.
(3) The interlocking light is off, and the instrument is not heating normally.
The interlock lamp is connected to the control circuit by the interlock button, the interlock lever and the interlock controller on the upper cover of the instrument in series to play the interlock protection function. When the upper cover of the instrument is closed, the interlock light is off, indicating that the control circuit has no signal input or the circuit is damaged.
Solution: In the normal condition that the upper cover of the instrument is closed, check the interlock button and the control switch under the interlock lever. Under normal conditions, the control switch should be connected in series, if abnormal, the control switch must be replaced; check the interlock controller under the normal condition of the above control switch. Adjust the knob of the controller to make the internal shrapnel contact closed, and the signal is input to the control circuit; usually, due to the high temperature of the upper cover of the instrument, the interlock button switch underneath is aged at high temperature, resulting in poor contact.
(4) The instrument is leaking and the pressure cannot meet the requirements.
The air leakage of the instrument is common in the sealing rubber ring of the instrument cover. The sealing rubber ring is damaged due to the aging of the sealing rubber ring or the rotation of the upper cover.
Treatment method: take out the sealing rubber ring and reinstall it. If the damage is not serious, it can be treated with talcum powder; if it is aging or damaged, it must be replaced.
(5) The safety valve works abnormally, and the pressure is too high to release the pressure.
The safety valve is the last protective barrier of the autoclave. When the instrument is working abnormally and continuously heating to make the pressure greater than 127MPa, it will automatically jump to release the pressure, thereby protecting the safety of the instrument and the operator.
Treatment method: regularly open the safety valve to release the pressure when the pressure is about 108MPa, to prevent the safety valve from being used for a long time and cause rust; if the damage is serious, it must be replaced by professional maintenance personnel and re-commissioned.
(6) The instrument cannot be vented or discharged normally, resulting in a large difference between pressure and temperature, and it cannot be sterilized normally.
Generally, the bottom of the automatic control vertical autoclave is equipped with three-way valve for exhaust and liquid discharge. Failure to exhaust normally will result in higher pressure indication of the instrument, which may be dangerous.
Treatment method: Open the side cover of the instrument, remove the drain pipe and three-way valve, and dredge; if the rust is serious, replace it, and regularly open the exhaust and drain valve under pressure during future use; to prevent this problem Reappear, try to add distilled water to the sterilization pot and replace it regularly (adding distilled water is generally replaced twice a week; adding tap water must be replaced once a day).


-analyzer-1695623743955.jpg)
